Quickly set up Pi-hole on Raspberry Pi and get rid of ads on all devices in your home!
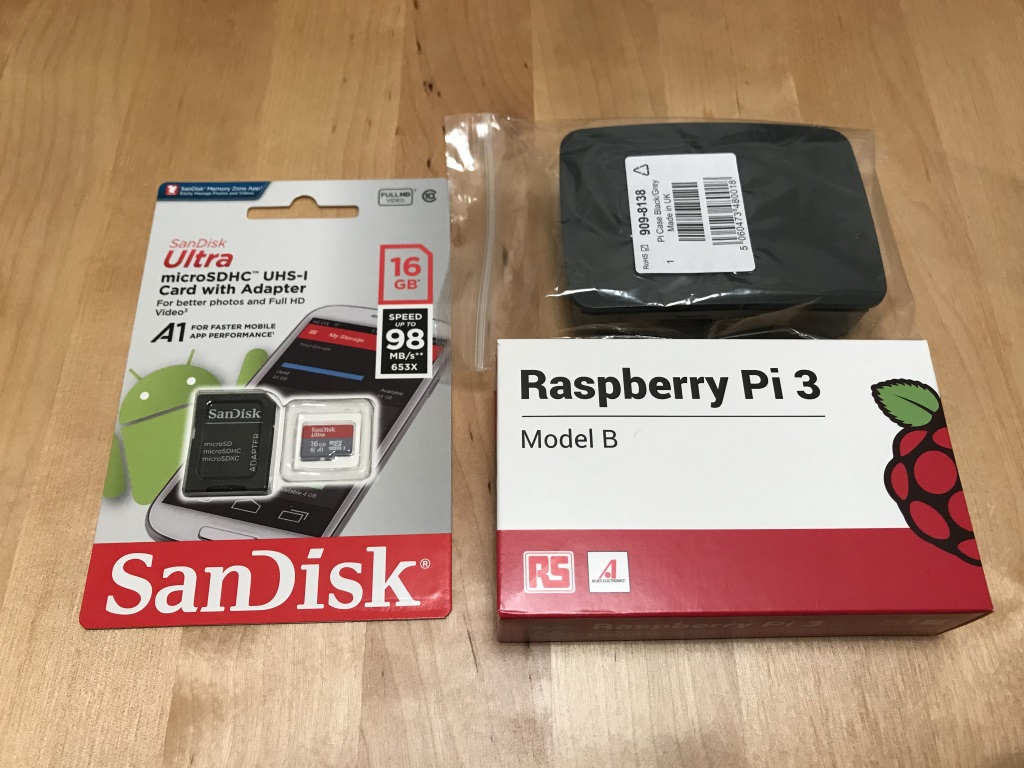
In countries where Black Friday is a thing, I think everyone spent a good part of their day just looking through all the deals. This year I finally bought a Raspberry Pi. Two actually.
Few weeks ago I re-discoverd an awesome project that promises to stop all ad traffic in your local network. I normally use uBlock Origin for browsers, but that still leaves all the other applications and devices unprotected. Enter Pi-hole!
Since this is a brand new Raspberry Pi and I didn’t want to connect any peripherals to it, I downloaded Raspbian Stretch Lite image from the official web site.
Next step was getting the image on the SD card. I’m using macOS and I followed the official tutorial.
This was the command I ran after unmounting SD card with the Disk Utility.
1 | sudo dd bs=1m if=2017-09-07-raspbian-stretch-lite.img of=/dev/rdisk2 conv=sync |
Next, in Terminal I ran the following commands.
1 | cd / |
Here I used nano to open the file and pasted in the following.
1 | country=US |
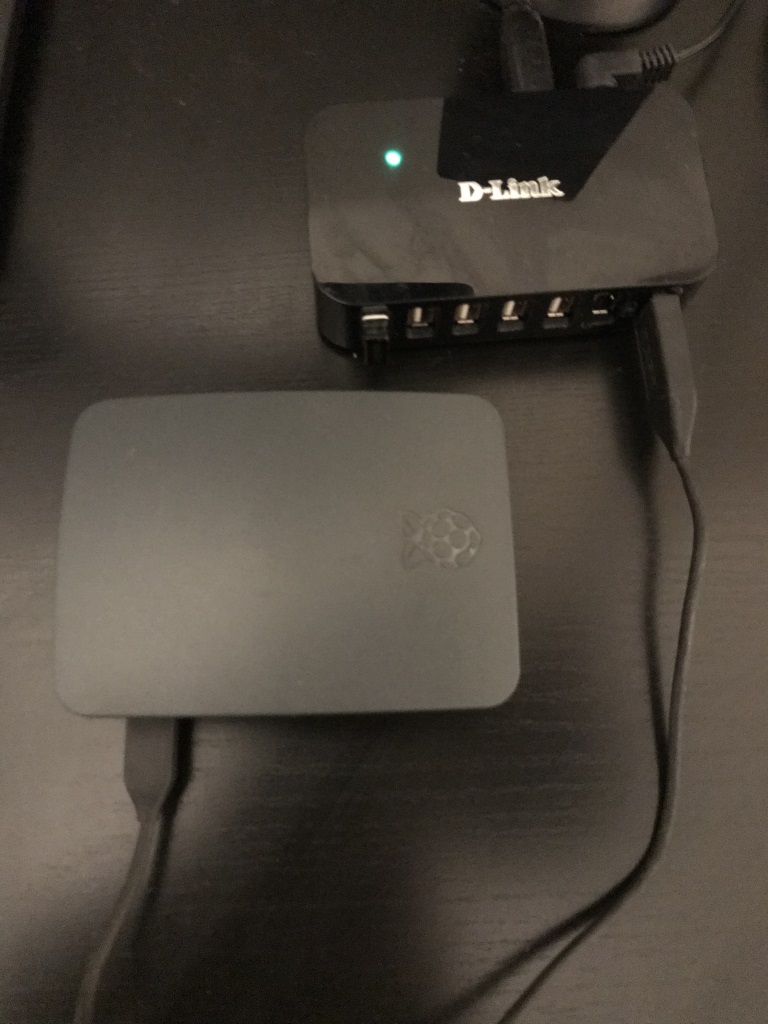
After this I ejected the SD card, inserted it in Raspberry Pi and plugged it in!
Next step was to find the ip address assigned to the Raspberry Pi, and I found the easiest way to see this is on the router.
Using that ip address I connected to the Raspberry Pi from Terminal. To connect on Windows you can use Putty.
1 | ssh pi@IP_ADDRESS |
Default password is raspberry
You can change the default password by typing in
1 | passwd |
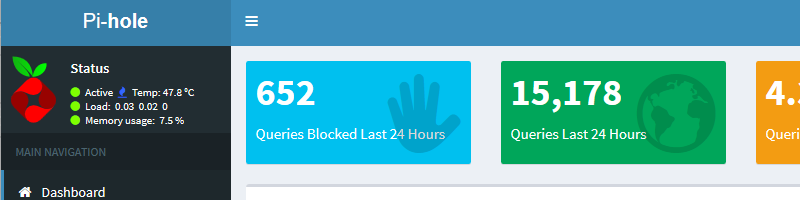
As the final step, I ran the command from the official page. Following the instruction was pretty straightforward and I’m surfing without ads on all devices!